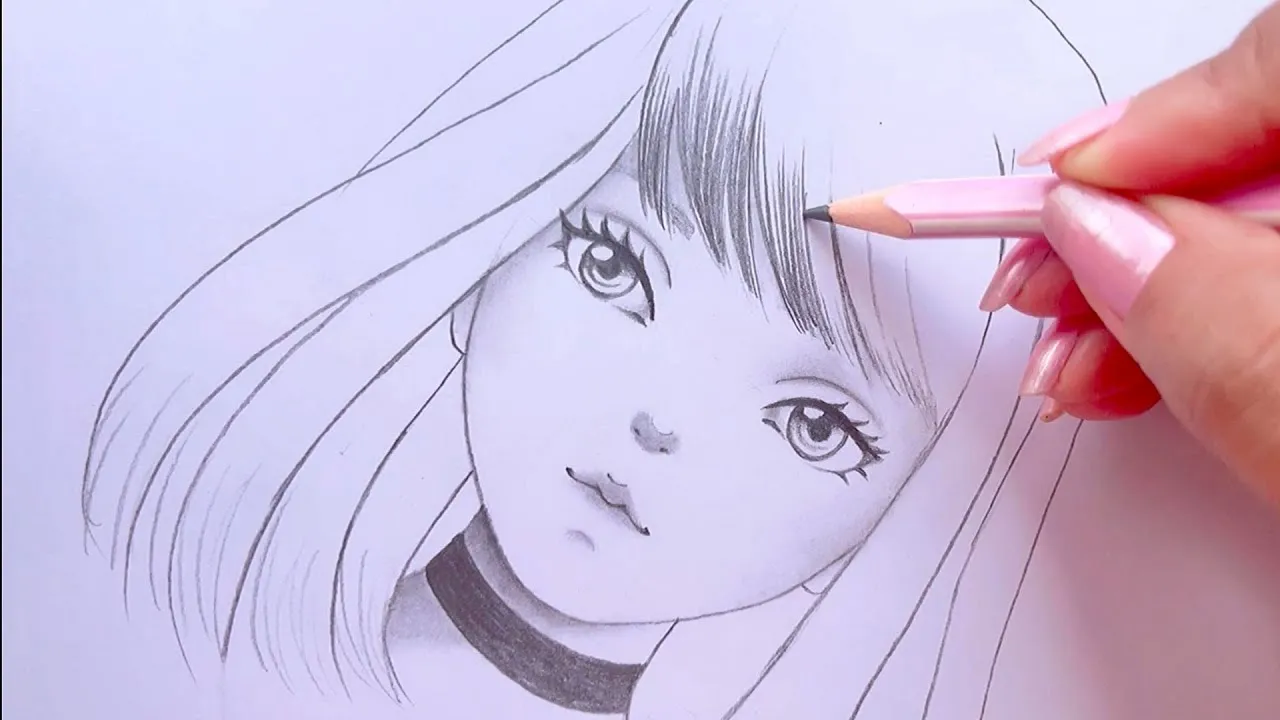
How to draw a girl can be an exciting and fulfilling hobby. If you’re new to sketching, drawing a girl might seem like a challenging task, but with the right approach, it can become an enjoyable creative process. Whether you’re a beginner or looking to improve your skills, this step-by-step guide will walk you through the basics of drawing a how to draw a girl. By breaking down the process into simple steps, you can create a detailed and realistic portrait of a girl with ease.
Step 1: Gather Your Materials
Before you begin drawing, ensure you have the right materials. Here’s a list of basic supplies you’ll need:
- A pencil (preferably an HB or 2B pencil for light sketching)
- An eraser
- A sharpener
- A ruler (optional, for guidelines)
- Drawing paper
Once your materials are ready, you can start the drawing process.
Step 2: Sketch the Head Shape
Begin by lightly sketching the outline of the head. The head can be drawn as an oval or a rounded shape, depending on the style you’re going for. Keep in mind that for a natural look, the head should not be perfectly circular. It’s okay to have slight curves to make the face more lifelike.
Draw two intersecting lines, one vertical and one horizontal, across the oval. These guidelines will help you place the facial features evenly. The vertical line represents the center of the face, while the horizontal line will be the placement guide for the eyes.
Step 3: Draw the Eyes
On the horizontal guideline, draw the eyes. Start by creating two almond shapes, which will form the basic outline of the eyes. Make sure they are evenly spaced on either side of the vertical line. The size of the eyes can vary depending on the style you want, but typically, the space between the eyes should be about one eye’s width.
After sketching the outline, add the irises and pupils. You can shade the pupils darker and leave a small white spot to represent the reflection of light. To add more detail, lightly draw the eyelashes and eyebrows above the eyes.
Step 4: Sketch the Nose and Lips
Moving down the face, sketch the nose. The bottom of the nose should sit between the horizontal eye line and the bottom of the oval. Start with a small triangular shape for the nose’s tip, and add slight curves to define the nostrils. Keep it simple, as overcomplicating the nose can make the drawing look unnatural.
For the lips, draw a horizontal line between the nose and the chin. The lips can be shaped by adding a slight curve for the upper lip and a fuller curve for the lower lip. Be sure to maintain a sense of symmetry, as uneven lips can throw off the balance of the face. Shade the lips lightly to add depth.
Step 5: Shape the Face
Now that you have the facial features in place, it’s time to define the face shape. Start by refining the outline of the head. Make the cheeks slightly wider near the eyes and taper the shape down towards the chin for a natural face contour. Keep the jawline soft and avoid making sharp angles for a more feminine look.
Step 6: Draw the Hair
When drawing the hair, it’s important to create volume and flow. Begin by sketching the general shape of the hairstyle. Whether it’s straight, wavy, or curly, focus on how the hair frames the face. Draw the hairline starting just above the forehead, and make sure the hair falls naturally around the head and shoulders.
Use light, flowing strokes to represent individual strands and waves in the hair. If you’re drawing long hair, have it cascade down the back or shoulders. For short hair, keep the strokes concise and ensure the hair maintains a structured shape.
Step 7: Add the Neck and Shoulders
From the base of the head, draw the neck. The neck should be slender and proportional to the size of the head. Extend two lines downward from the jawline, curving slightly inward for a natural look.
After completing the neck, draw the shoulders. Depending on the pose, the shoulders can be rounded or slightly sloped. The shoulders should not be too broad or narrow in relation to the head. You can also add a collar or some clothing details to give the drawing more personality.
Step 8: Finalize the Details
Now that the main structure is complete, you can focus on adding final touches and details. Go back and refine the facial features, making them more defined. Add any necessary shading to give depth and realism to the drawing. Focus on areas like the cheeks, under the eyes, and around the hairline.
You can also add accessories like earrings, a necklace, or clothing patterns to enhance the character’s appearance. Finally, carefully erase any unnecessary guidelines that remain from the earlier steps.
Step 9: Review and Make Adjustments
Once you’ve completed your drawing, step back and review it. Look for any areas that might need slight adjustments, such as the proportion of the features or the balance of the face. Small tweaks can make a big difference in the overall look.
Conclusion
How to draw a girl can be a rewarding experience, especially if you take the process step by step. By focusing on proportions, paying attention to detail, and practicing regularly, you can improve your skills over time. Remember, every artist develops their style, so don’t be afraid to experiment and make the drawing your own!


